How to enable the webcam on a Windows 10 laptop or PC
Windows 10 is getting harder every time to find the right setting. On the one hand this is good, as many features and settings appear, but on the other hand, many users find it difficult to find a particular setting.
In this guide, let’s break down how to enable the webcam on a laptop or computer running Windows 10.
How to enable the Webcam in Windows 10
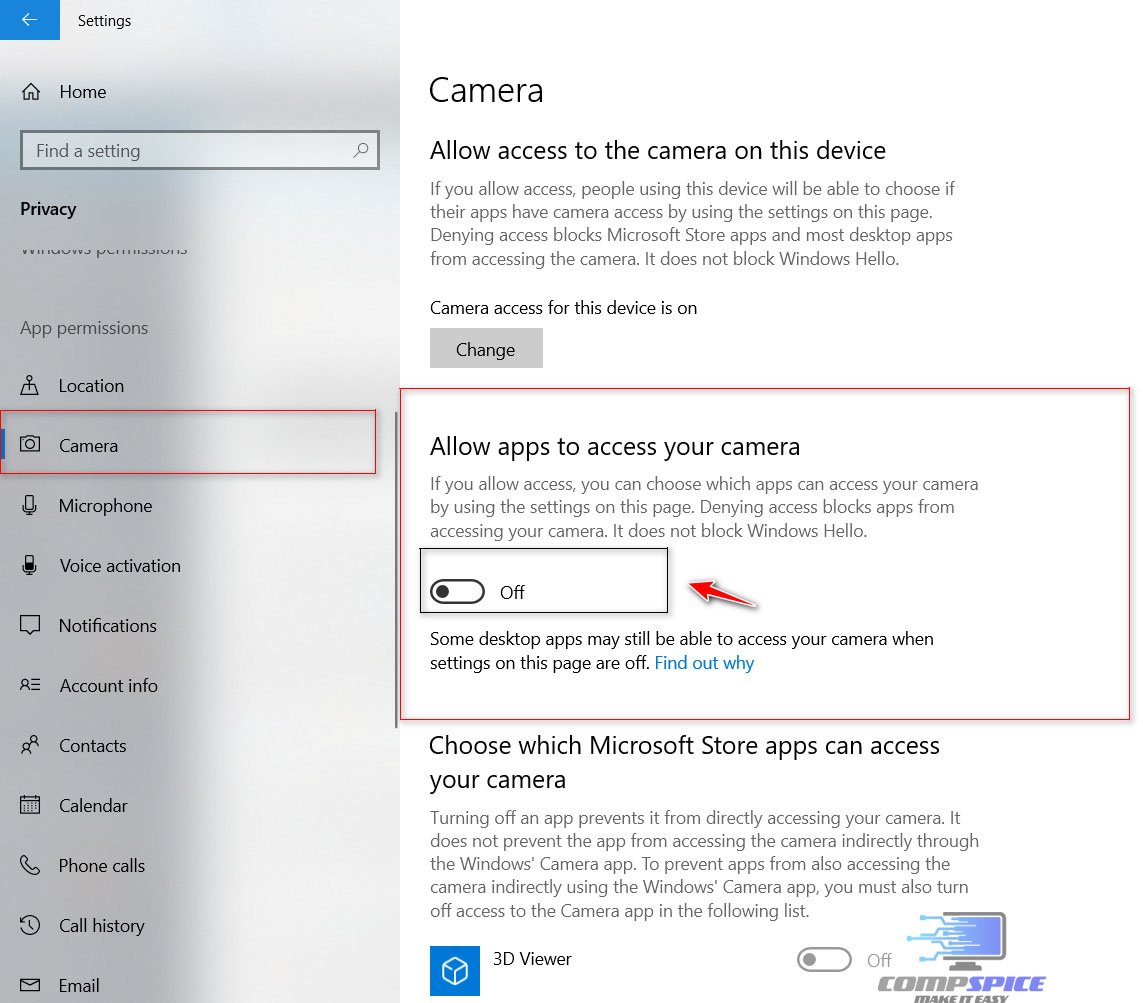
Open Settings > Privacy > Camera.
Click on “Change” on the right and then on. This will enable the camera to your device.
If you want to enable the camera for apps, then enable the “Allow apps to access the camera” option.
If you want to enable access to certain UWP applications, there will be a list of these programs at the bottom.
How to enable the camera on a laptop from the keyboard
Some laptops have a physical webcam disable button on the keyboard. Note the picture below. To turn on the camera on your laptop, you need to press the key combination Fn+F10.
Note: The camera is turned on differently in different laptop models, but Fn is the main button, and the camera itself can also be at F1…F12. Pay attention to the button icons. Also, the camera icon can be on the regular alphabetic buttons like V/M.