How to change network profile name in Windows 10 / 8.1 / 7
When you first set up and connect to the network, Windows saves this information as a network profile and gives a common name, such as “Network”, “Network 1”. You can see this name when you click the network icon on the taskbar or when you open the Network and Sharing Center in the control panel. Although the default network name is not a big problem and does not affect anything, but if you have several network profiles, it may be useful not to get confused, and it also looks decent. If you are a Windows Home user, then you will not have a local security policy, see how to change the network name below using the registry.
Changing the network profile name local security policy method
The easiest way to change the name of a network profile in Windows is to change the local security policy settings. Local Security Policy is included in the Group Policy Editor. Unlike Group Policy Editor, where you can configure settings for all computers and users in your domain, local security policy is used to set and change settings for your specific local computer.
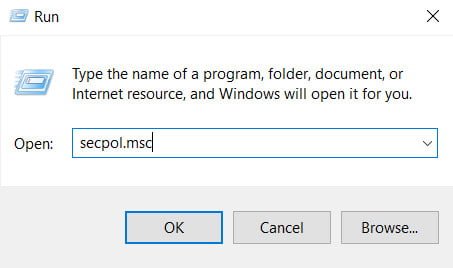
Click Win + R and enter secpol.msc.
Related post : ERR_INTERNET_DISCONNECTED error in Google Chrome
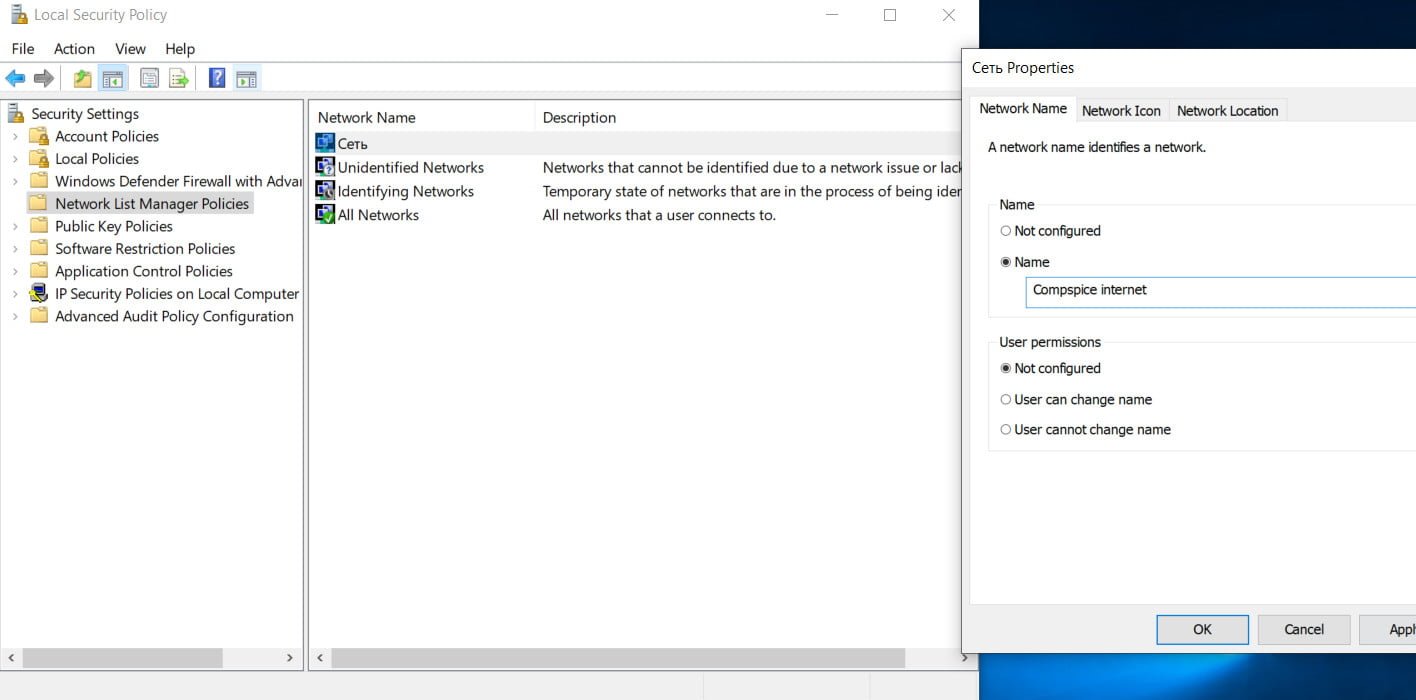
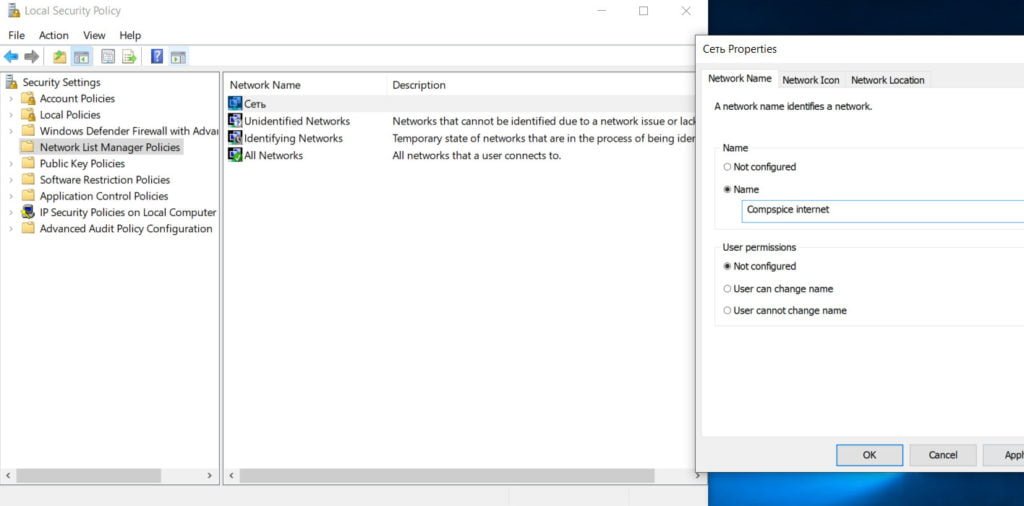
- Go to “Security Settings”> “Network List Manager Policies”.
- Double-click on the “Network” on the right.
- Set any name for your network.
Note: Do not use special characters in the name.
Related :WINDOWS 10 COMPUTER DOES NOT SEE OTHER COMPUTERS ON THE NETWORK

Related post : Fix error api-ms-win-crt-runtime-l1-1-0.dll in Windows