How to create a system restore point in Windows 10/8
System Restore Point in Windows 10 allows you to roll back your computer for several days or weeks in working condition. Sometimes you do some manipulations with the settings of the system itself and it stops working. Maybe you inadvertently changed some registry settings or group policies that caused Windows 10 to become unstable or some applications refuse to work. You can make a full backup of your Windows 10 system to restore everything later, while preserving all the files and settings, but this takes more time than creating and enabling a restore point in Windows 10.
System Restore works by detecting system changes in system files and settings, the registry, applications and drivers, while maintaining a working state as a “restore point”. If your computer or laptop experiences any problems as a result of misconfiguration, you can use the recovery point to undo the changes and fix performance problems.
By default, System Restore is disabled in Windows 10, but when it is turned on and configured correctly, it can automatically create checkpoints, but you can create restore points manually before making any changes to the system. It will be more efficient than creating a copy of the registry, a copy of group policy. In this guide, you will learn how to configure and use system restore to undo changes that may harm your device.
In Windows 10, system recovery is disabled by default, but you can do the following steps to enable it:
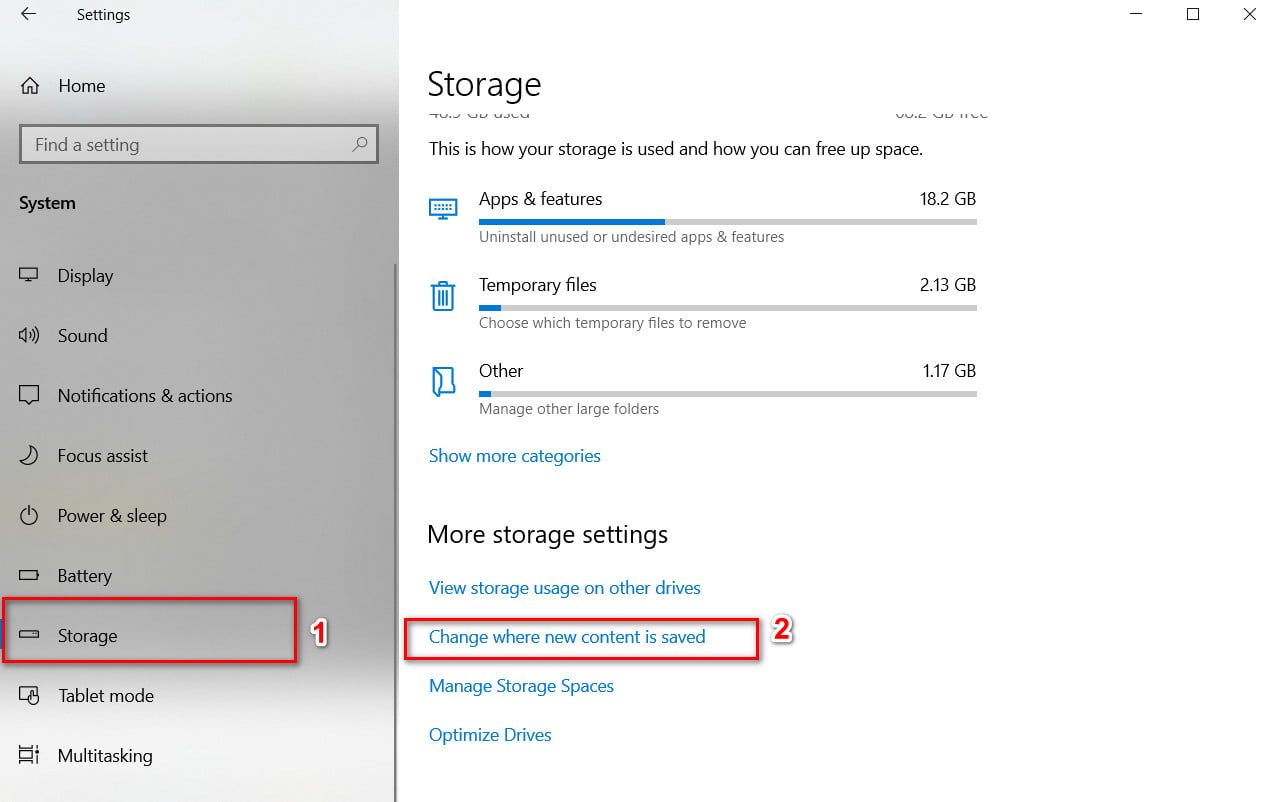
- Press the combination of buttons Win + R and enter sysdm.cpl or simply in the “search” windows, near start, type “restore”.

Related post : How to check support for Modern Standby mode in Windows 10
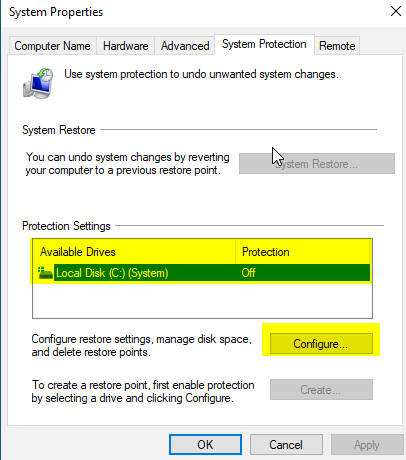
- Go to the “System Protection” tab, select the main system disk where Windows is installed and click “Configure” below.
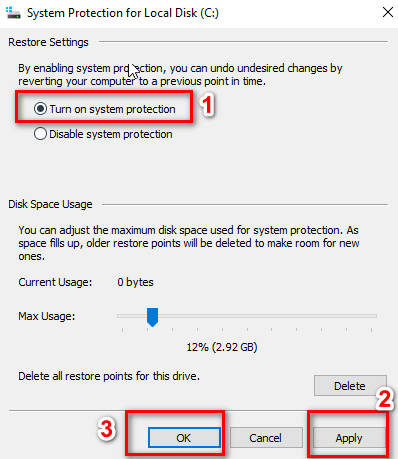
- Select the option Turn on system protection. Click “Apply” and “OK.”
Related post : How to find out the GUID of the hard disk and…
Below the slider you can specify the volume to be stored. For example, 2.9 GB of the specified location will contain 10 recovery points, when there is no space left, the system will delete the old ones and add new ones. But if you create a restore point manually before any changes in the system, it is better to specify the default – 5% to save disk space. After completing these steps, a new restore point will be created automatically when an important system change occurs, for example, before installing the Windows 10 update. If you need to delete restore points, you can click the Delete button, which is a convenient option when creating a new restore point manually.
How to create a system restore point in Windows 10/8
When enabled, a restore point will be created automatically during significant changes, there will be cases when you need to manually create a restore point before changing any parameters in the system that may cause problems.
Press the combination of buttons Win + R and enter sysdm.cpl or simply in the “search” windows, near start, type “restore”.
Related post : How to find out the GUID of the hard disk and…
After switching on, as described above, it will already be turned on, it remains only to create manually.
- Go to the tab “System Protection”, select the included system disk and click “Create.”
In the window that appears, you can write a comment, then to know which one to choose from the list, and click “Create.”
Now you can roll back the system back to working condition if you made changes in the registry or the installation of drivers caused a crash.

Related post : How to delegate administration of the RODC controller
How to roll back the system using a system restore point in Windows 10/8
If you experience any problems before reinstalling Windows 10, you can roll back the changes using a restore point to return your computer to a working state.
Click Win + R and enter sysdm.cpl or simply in the windows “search”, near the start, type “recovery”.
- Go to the System Protection tab and click Restore.

- In the window that appears, click “Next.”
- Choose the latest known recovery point that will help you fix the current problem.
- Click the “Scan for affected programs” button to see the applications that will be removed if they are installed after creating a recovery point.
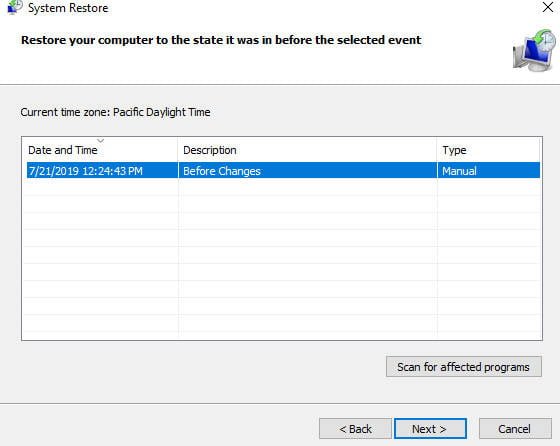
Click “Finish” and the computer or laptop will return to its previous state, where everything is working correctly.
Using a system restore point when the system does not boot
In the previous steps, we looked at how to use a restore point when you still have access to the desktop. There will be times when you may need to use System Restore point (system recovery) when windows 10 does not load onto your desktop. If you cannot start your computer, you can use advanced system settings to access System Restore, which you can perform using the following steps:
Note: If you cannot get into the Windows 10 recovery environment, create a rescue disk on your work computer. It specifically intends to troubleshoot the Windows 10 system and with ease you can get to the restore point option.
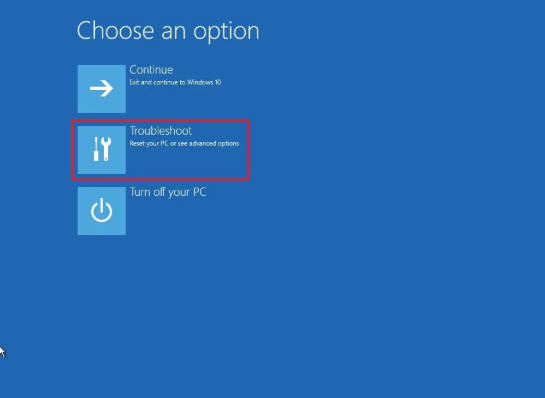
- Press the reset button on the computer many times in succession to provoke an error and bring up the process diagnostics menu.
In the appeared blue window select “Troubleshoot”.
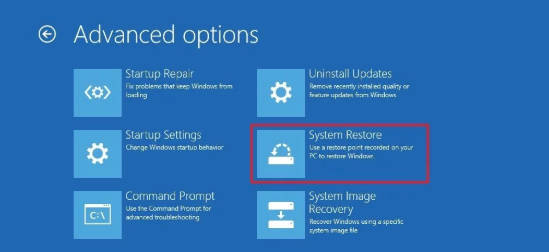
- Next, find the “Advanced Options”.

- Select “System Restore” using point.
Then just follow the upper instructions.
Choose the latest known recovery point that will help you fix the current problem.
Related post : Fix Winload.efi file missing error on Windows 10