How to Trim a Video in Windows 10 without Using a Third-Party App
This article is about how to trim a video in Windows without using a third-party applications.When you download a video from the Internet, there is a high probability that it contains an introduction, captions, author’s designation. This is especially true for most commercials or albums. Although it is not a big deal, but it can be quite inconvenient to watch the intro and ending every time, spending extra minutes of time on it, when you just want to enjoy the actual video. Suddenly, you just decided to trim a large family video to select the best moments and shots.
There are many free tools for trimming these unnecessary parts in just a few clicks. However, if you are using Windows 10 with the Fall Creators update, you do not need to use a third-party application. You can trim the video using the built-in application “Photos” and “Cinema and TV” for free, without buying third-party specialized programs.
The good thing about this approach is that, unlike most third-party tools, you do not have to manually set quality, resolution, and other parameters. It automatically sets the actual quality and resolution of the video you are trying to edit. This article will show you how to use both video cropping applications.
How to Trim video using Photos app
The Photos app in Windows 10 is very meaningful. Able to index opened photos and add to your storage. It also has a lot of useful editing functions and with each update becomes better and more functional.
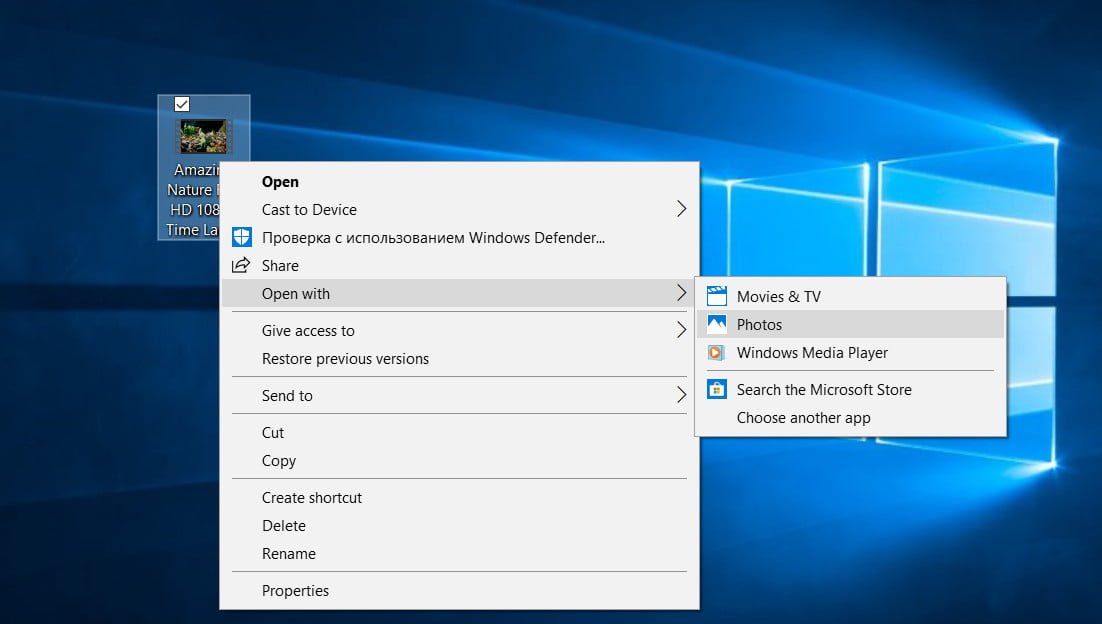
Select the video you want to trim.
Right-click on it, select “Open with”> “Photos”, after which the application “photos” will start.

Related post :HOW TO TAKE A SCREENSHOT IN LAPTOP OR COMPUTER?
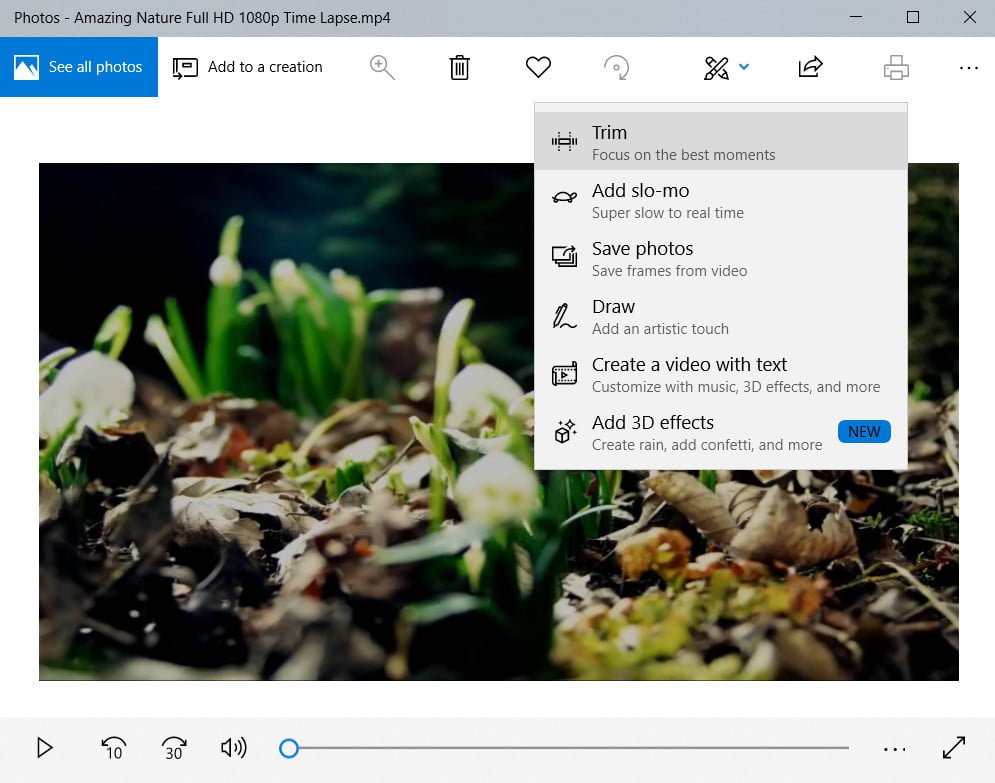
Drag the mouse up to show the settings panel.
Click above on “Get create on this video” and select “Trim”.
Related post :HOW TO REMOVE AN EXTRA LANGUAGE FROM THE LANGUAGE BAR IN WINDOWS 10
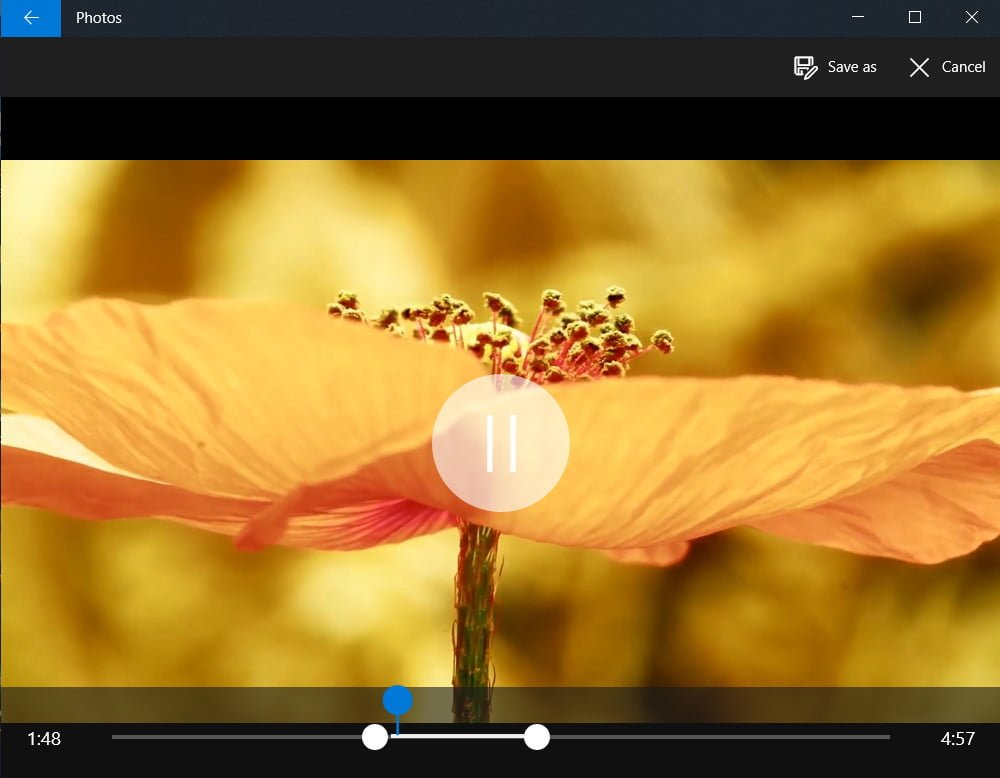
In the editor that appears, just drag the white circles on the fragment of the video that you need to cut.
You can click the Play button and see how the captured frame will look like.
When you are satisfied with the result, click the “Save as” button.
Choose a place to save, give it a name and click save.
Related post : Mapped Network Drives issue in Windows 10 version 1809