
How to fix BUGCODE_USB_DRIVER error In Windows 10
Another annoying error on a blue screen with the code BUGCODE_USB_DRIVER. This error occurs due to a problem with the usbhub.sys system driver file, winusb.sys or usbport.sys. This means that an error has occurred in the universal serial bus (USB) driver. Now this driver is released by Microsoft itself and comes with Windows 10. Therefore, it is difficult to download the latest version of this driver from the Internet. So, we need to try some basic steps to try to fix this problem.
How to fix BUGCODE_USB_DRIVER error
If your system restore point is turned on, you can roll back the system to the previous stable state of your computer. First of all, try upgrading the motherboard and USB driver to the latest version from the manufacturer’s official website. I also recommend resetting the BIOS to the default.
1. Update USB controller drivers
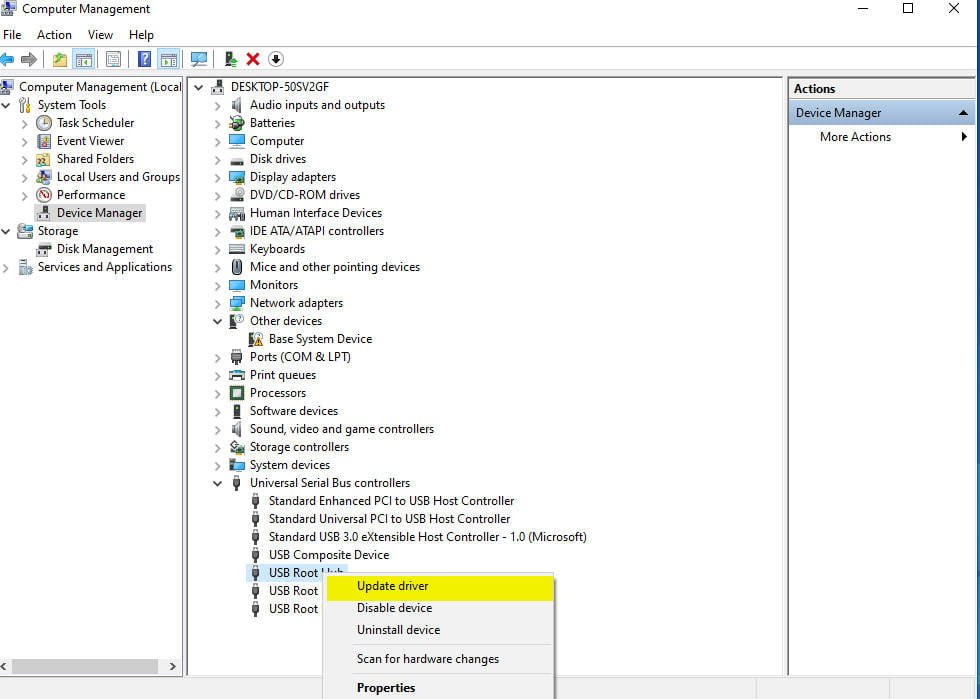
Press the key combination Win + X and select “Device Manager” from the menu. Now expand the entry labeled “USB Controllers”. Right-click on all USB-related drivers and select “Update Driver” in the context menu.
Related post : Video RAM: How to increase dedicated video memory in Windows 10
2. Check for Windows updates.
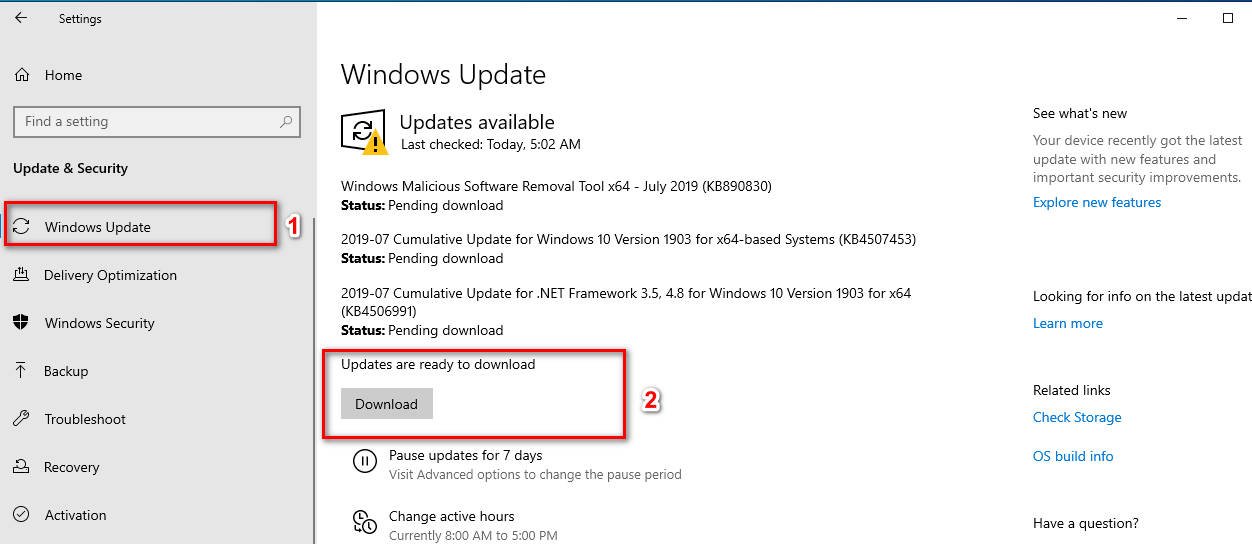
You need to make sure that you have all the latest Microsoft updates installed on your computer. To do this, you need to go to “Settings”> “Update and Security”> “Windows Update”> “Check for Updates” and check for Windows 10 updates. Now, if you have available updates, download and install them.
Related post : How to find out the GUID of the hard disk and…
3. Remove conflicting applications and services.
Applications and services, such as VMWare, Virtual Box, Hyper-V Virtualization Services, may conflict with the USB port drivers in the parent operating system. You should try to remove VMWare, Virtualbox or any other similar applications. You should also consider disabling Hyper-V on your computer.
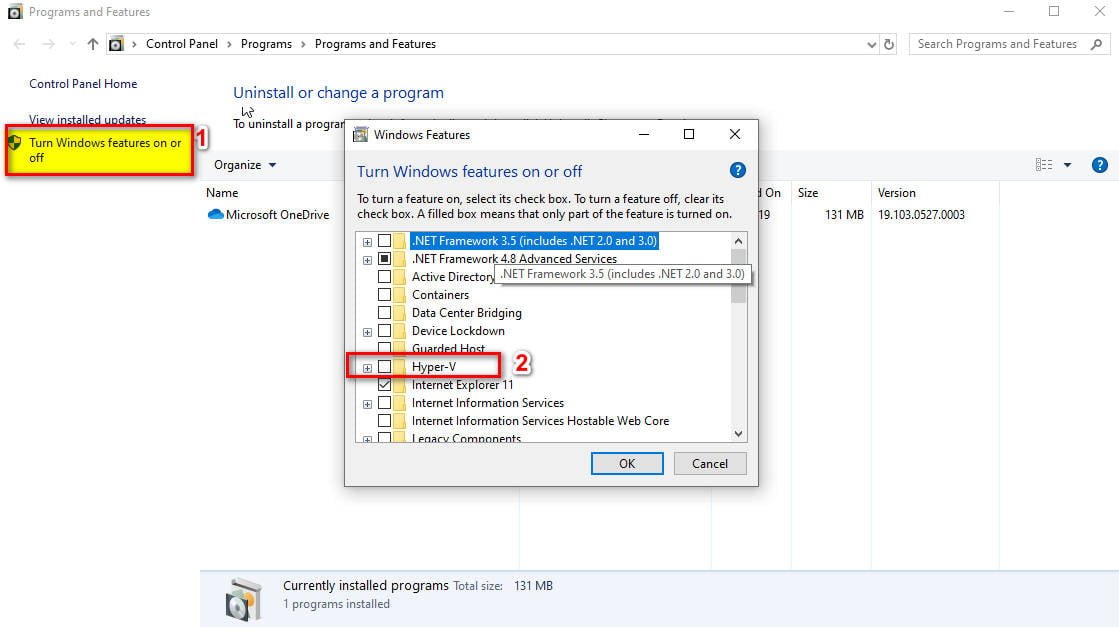
To do this, click Win + R and enter appwiz.cpl to open “Uninstall programs.” Next, on the left, click on “Turn Windows features on or off” and you will see a new “Windows Components” window. In the list, find Hyper-V and uncheck to disable this component. Click “OK” and restart the PC for the changes to take effect.
Related post : What is csrss.exe process and how csrss.exe works in…
4. Make changes to the power settings
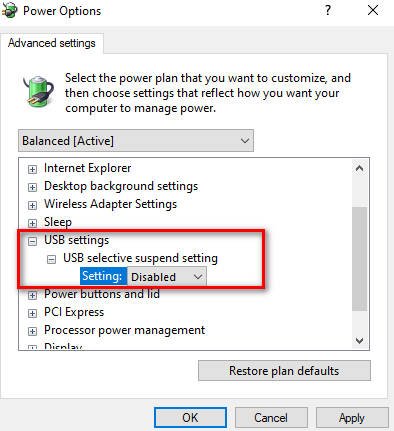
Type in the search search start “Edit Power plan” and open. In the new power plan window, click on “Change advanced power settings”. Then you will see additional parameters, where you should find the list in the “USB settings” list and select “Disabled” in the “Usb Selective Suspend setting” section.
5. Check hard disk for errors
Open a command prompt as an administrator and enter the command:
chkdsk / f / r
Reboot the PC after the process is complete.


