
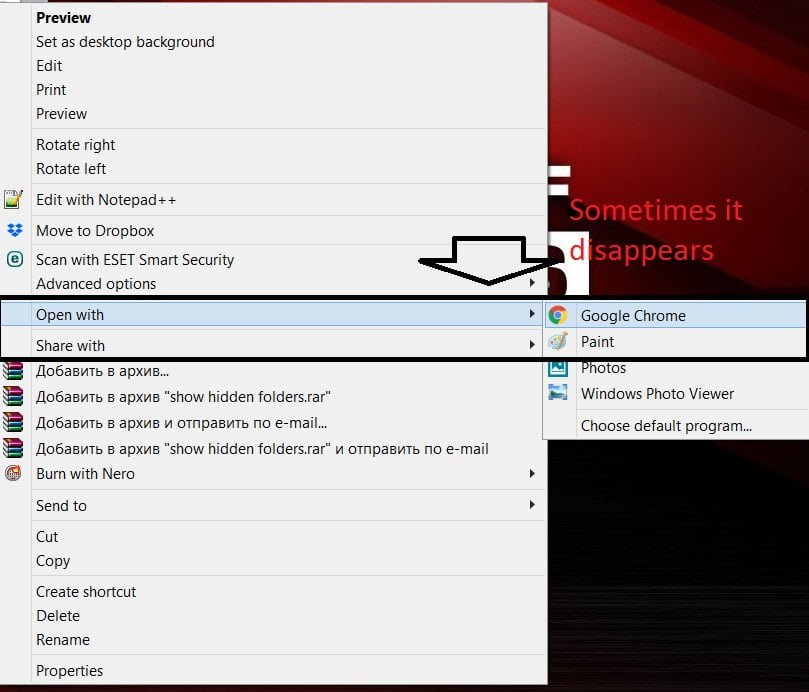
Missing context menu “Open with”
Many users began to complain that the line from the context menu “open with” was missing. If you have lost the context menu “open with”, here you will find the solution. We will do everything through the registry editor. I recommend sticking to the instructions and making a copy of the registry using third-party optimization programs; google specialized software for backing up and restoring the registry. The slightest other registry changes can crash the system.
Missing context menu “open with”
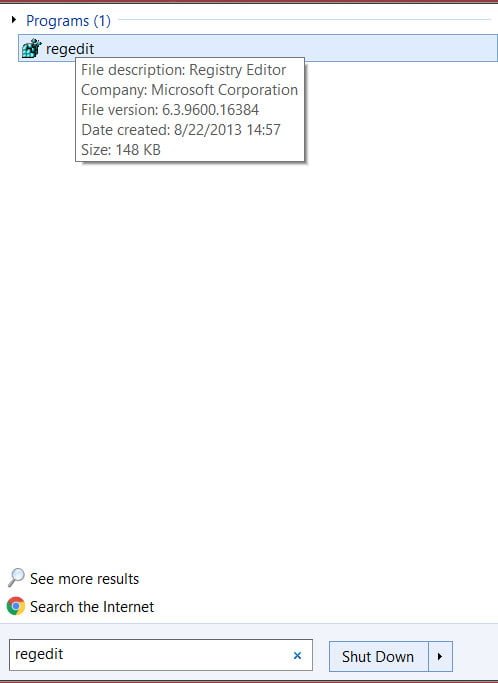
Open the registry editor by clicking the button:
- Open Start menu
- We click on the search button
- Enter in the field the word regedit
- Press enter or select from the top that issued the search
Related post : High CPU utilization by the System process (Ntoskrnl.exe) in Windows
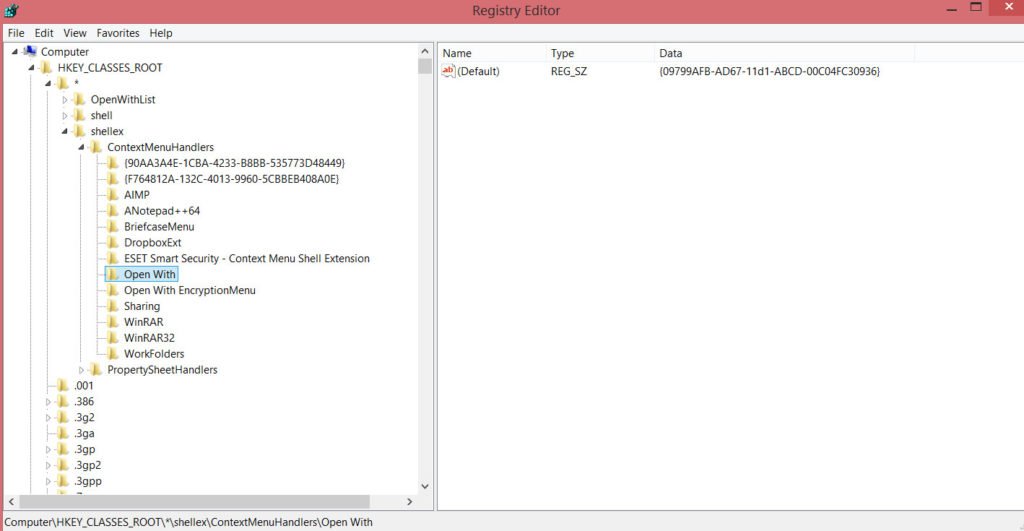
The registry editor will open. Go on the way from the left in the column:
HKEY_CLASSES_ROOT \ * \ shellex \ ContextMenuHandlers
Do not forget about * this is the real section, many do not see that you need to go more on an asterisk. Click the right mouse button on the folder (key) ContextMenuHandlers. In the context menu, create a new key, create a Section.
Related post : How To Delete User Profiles in Windows
We click on the file that with the right, 2 times with the mouse. In the window that appears, enter the data in the value field (you can copy, paste):
{09799AFB-AD67-11d1-ABCD-00C04FC30936}

Close the registry. Reboot the computer, laptop. After the reboot, a line should appear in the context menu “open with”. Be careful when editing the registry. The registry is complex and specific. The slightest wrong actions can lead to a deplorable situation in the flesh before reinstalling windows.
See also : How to fix Black Screen after updating Windows 10


