How To Fix Critical Process Died Windows 10 error
The blue screen of death, notoriously known as BSOD, can ruin your day. There are more than 500 BSOD error codes, but the Critical Process Died Stop code causes the most attention. BSOD is much less common in Windows 10 than in previous versions of the OS, but when they occur, it is annoying, especially on a day off when you decide to play. The Critical Process, which stops unexpectedly, is responsible for most BSODs. You will learn this by seeing the error code 0x000000EF on the blue crash screen.
Related post : How to disable pop-up push-notification sites in browsers
At the most basic level, the reason is simple: the background process that Windows relies on has become corrupted. He could either completely retire, or his data was incorrectly changed, damaged. Digging deeper, it becomes much more difficult to determine the exact problem. An aspirant can be anything from unreliable drivers to memory errors. Worse, there are almost endless scenarios in which a BSOD can occur. Perhaps this happens only when you play games, when you boot the computer and log in, when you open an application or when you wake the computer from sleep. Let’s try to solve and fix this Critical Process Died error code on a blue screen in Windows 10. Before moving on to more complex solutions, let’s start with the simplest.
1. Run the hardware and device troubleshooting tool to fix Critical Process Died
Windows now offers a wide range of specialized troubleshooting tools. One of them is specifically designed for problems with equipment and devices. To run the troubleshooter, follow the steps below.
Go to Options> Update and Security> Troubleshoot> Scroll down and select Hardware and devices, then click Run troubleshooter. Your system will spend a few minutes searching for problems and reporting results.
2. Run the system file checker tool.
The next step is to run the SFC system file checker. This is a well-known utility that can automatically repair damaged system files in Windows 10. To tell the truth, this does not always help. Users use it more out of habit than necessary. However, in the case of error code 0x000000EF, this is an important troubleshooting step.
Open a command prompt as an administrator. Type in the search start cmd, right-click and run on behalf of the admin.
At the command prompt, type the sfc / scannow command and press Enter. The process can take a long time. When everything is ready, you will see a list of any problems and the steps that the tool has taken to fix them. Do not forget to restart the PC.
3. Run antivirus scan
The stop code can be triggered by malware on your system. Malicious software can modify system files and processes, making them unusable. You can use either Windows Defender or third-party antivirus software. Just make sure you run a deep full-featured scan.
4. Launch Deployment Display and Maintenance Management Tool.
If you still encounter errors, it’s time to move on to Deployment Image and Service Management (DISM). It will restore the damaged image of the system.
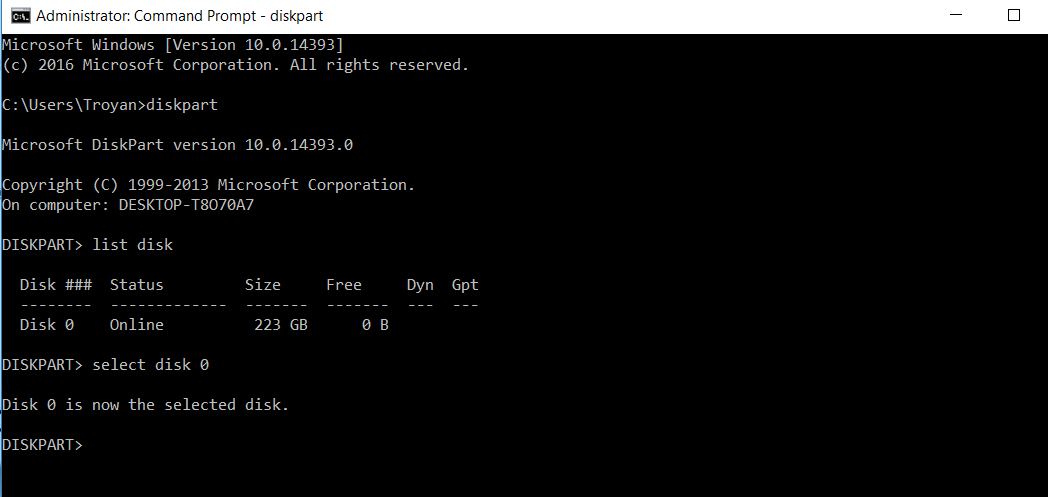
Run a command prompt as administrator and type DISM / Online / Cleanup-Image / RestoreHealth and press Enter. The process usually takes from 10 minutes to half an hour. Do not worry if the progress bar stops at 20 percent within a few minutes, this is normal. When the scan is complete, restart the computer.
![]()
5. Update drivers
Bad drivers are one of the most common causes of a stop code. Therefore, it is reasonable to verify that none of them require updates. To check the status of your drivers, right-click on the Start button, select Device Manager and view the list to see if any drivers have a yellow exclamation mark.
If you find an exclamation mark, right-click on the corresponding device and select Update driver in the context menu.
6. Remove the latest updates for Windows.
If your problem started after a Windows update, you can remove the latest updates so that you can see if your problem has disappeared.
Go to Options> Update and Security> Windows Update> View Update Log> Delete Updates.
In the new window, delete the latest windows 10 updates. Maybe it will show the list of the penultimate updates, then you will be guided by the log.
7. Perform a clean boot.
Netboot is a startup mode that uses the minimum number of drivers, processes, and programs. After starting your computer, you can start downloading the missing processes in an attempt to isolate the problem. To run a clean boot of Windows, follow the steps below or refer to the full manual.
- Open the Windows search bar.
- Type System Configuration and press Enter.
- Click on the “Services” tab.
- Check the box next to Do not display Microsoft services.
- Click Disable All.
- Select the “Startup” tab.
- Click Open Task Manager.
- In the Startup tab, disable all items.
- Reboot the computer.
8. Restore the system
You can try to roll back your computer to a previous state using the System Restore tool. This method is possible if you enabled the creation of recovery points, before the error Critical Process Died.
Go to Options> Update and Security> Restore> Start and follow the on-screen instructions.
9. Update BIOS
You can try updating your computer’s BIOS. Unfortunately, there is no standardized method for this; It depends on your computer manufacturer. For recommendations, refer to the manual of the manufacturer of the motherboard or brand of laptop. You can also see an example of how I updated the BIOS of the computer motherboard.
Reinstalling Windows: If none of the above tips have fixed your problem, then reinstalling Windows 10 is the best solution as always.