
How to remove, disable, roll back and update device drivers in Windows 10/8/7
In Windows, it is a device manager that allows you to view all installed hardware along with its properties. Device Manager allows you to change the hardware settings. When it comes to how to remove, update, roll back, enable and disable, the device manager is indispensable. In this article, you will find tips on removing, disabling, rolling back, backing up and updating device drivers in Windows 10, 8 and 7.
How to get to the device manager in windows 10 / 8.1 / 7
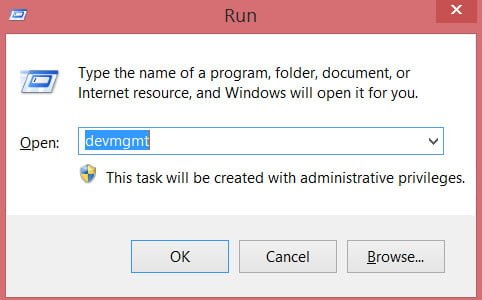
Press the key combination Win + R and enter devmgmt.msc
Related post : Download d3dx9_43.dll or xinput1_3.dll for Windows 10/8/7
Driver software update
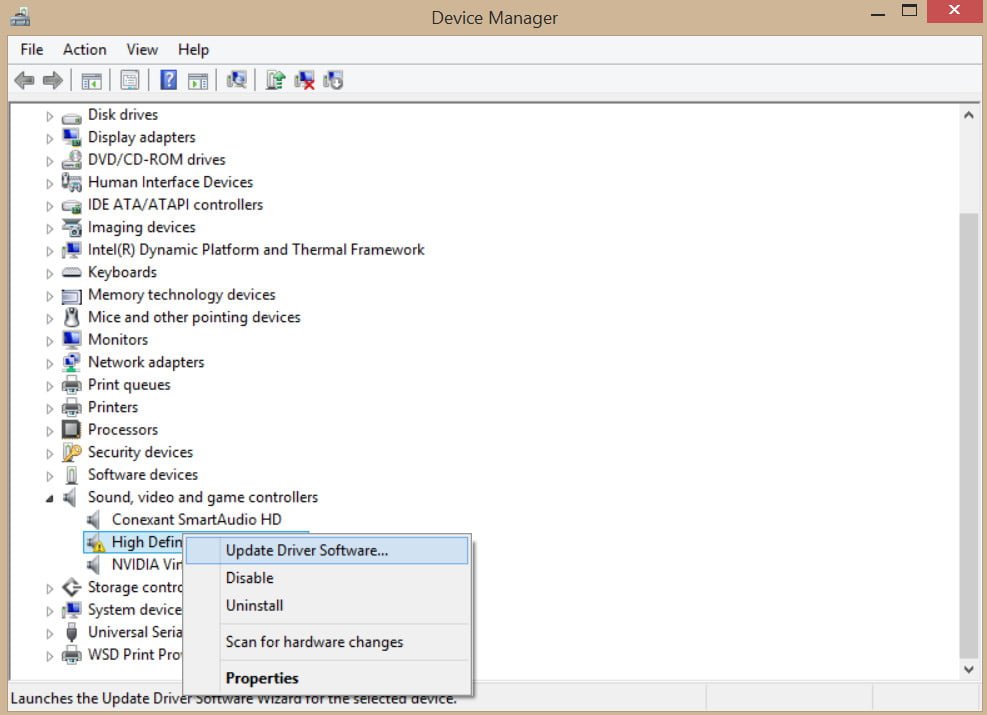
Open the device manager, then find the driver you want to update. After that, right-click on it and select the “Update Driver” option.
Related post : How to create a system recovery disc in Windows
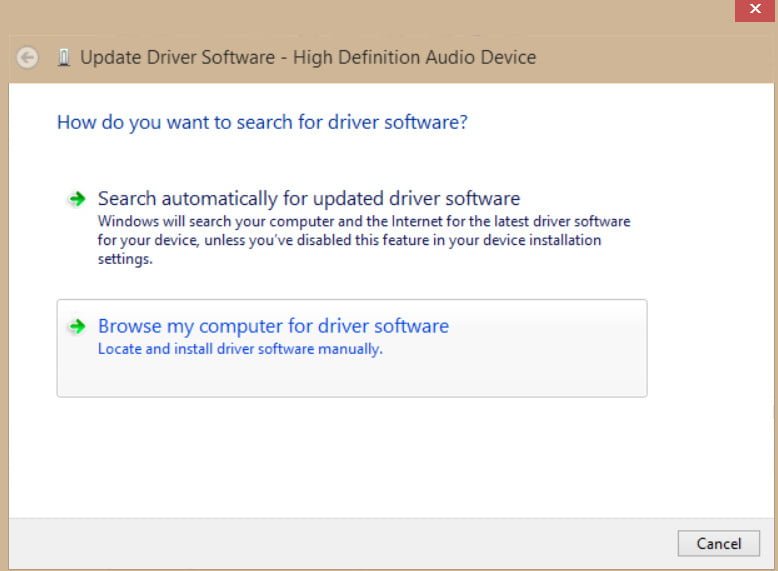
This wizard opens two options: “automatically search for updated drivers on the Internet” and “search for drivers on this computer.” You need to choose any option for you to continue.
Related post : How to Connect a Projector
Rollback, disable and enable the driver
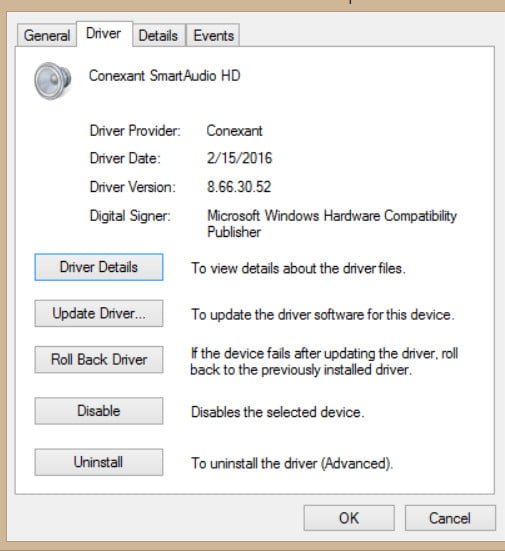
Open the device manager, select the device you need and double-click on it, then go to the “Driver” tab. In this tab, you will have to update, roll back, disable and remove the driver.
The “Rollback” option becomes functional after updating the driver software when there is an old version of the driver. If you want to remove the recently updated driver, select this option and you will return to the previous driver version.
The option like “Enable / Disable Driver” will make the device operational or not.
Delete device completely removes driver files and information from the registry.
Related post : Mapped Network Drives issue in Windows 10 version 1809


