How to choose a different GPU for different applications in Windows 10
One of the most interesting new features in Windows 10 v 1803 is the choice of GPUs for applications to improve application performance, as well as battery savings over the long term. Many computers have two graphics processors on their motherboard. One is built in, and the other is separate. If your configuration allows you to use them separately, you should try this feature!
Graphics performance tuning for applications in Windows 10
The first thing you need to do is understand the applications that need the best graphics processor. It can be a hard game or video editing software, image editing software, or anything that requires more processing power. Once your list is ready, go to:
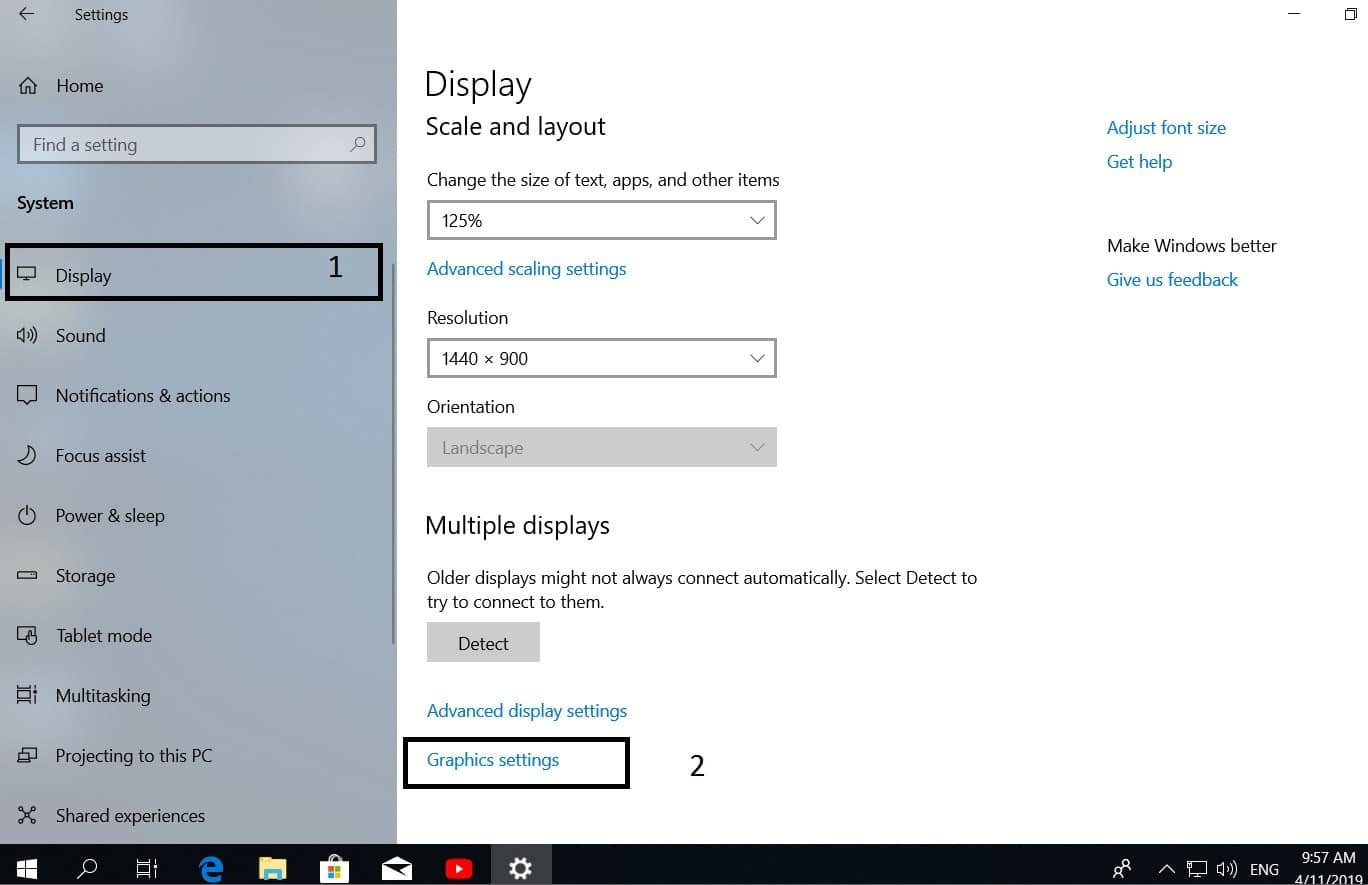
Settings> Display> and scroll to the bottom. Find the link that contains the graphics settings.
This section mentions that you can adjust graphics performance for specific applications. Preferences can improve application performance or shorten battery life. After the change you will need to close the application and start it again.
See also : Windows 10 v1803 creates additional disk partition
After you have filled out the list, select the application in which you want to customize the graphics, and then select “Options.”
Now select High Performance or Energy Saving.
If you have a heavy application and uses a graphics processor, you can force it to use an energy-saving graphics processor to save battery power.
If you are behind a PC and any game slows down, then you can try the High Performance feature.

Related post : Turn on BitLocker in Windows