
Resize Chrome Cache size for performance in Windows 10
Google Chrome is the most popular web browser in the world. The main reason for this is that people feel that Google Chrome is faster. This is due to many factors. And one of these factors is the size of the cache. Other browsers can manage the size of the browser cache through the interface, while Google Chrome does not allow it. But this does not mean that it is impossible. Let’s take a look at how to change the automatic cache size management in Google Chrome by setting a manual limit.
How to change Chrome cache size in Windows 10
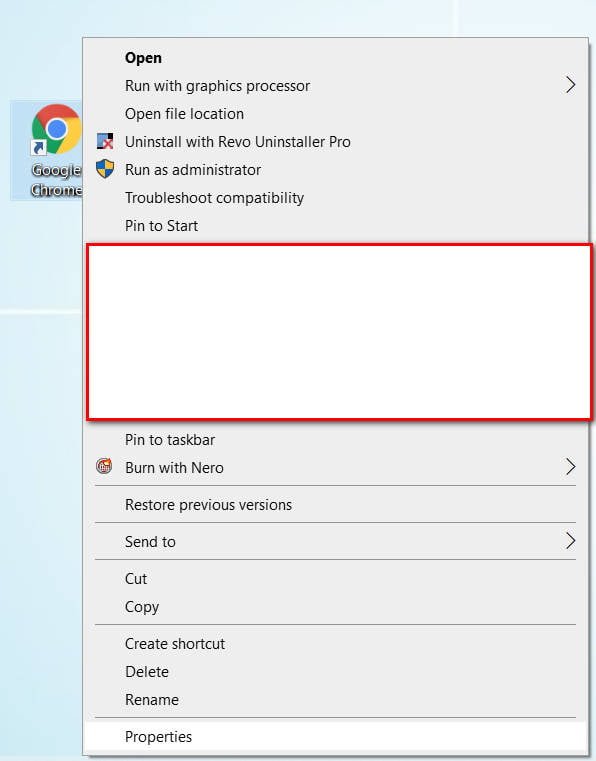
Step 1. Launch the Chrome browser itself. Next, right-click the Google Chrome icon in the taskbar and right-click again on the entry labeled Google Chrome. Now click on “Properties.”
Related post : ERR_TUNNEL_FAILED Error in Chrome
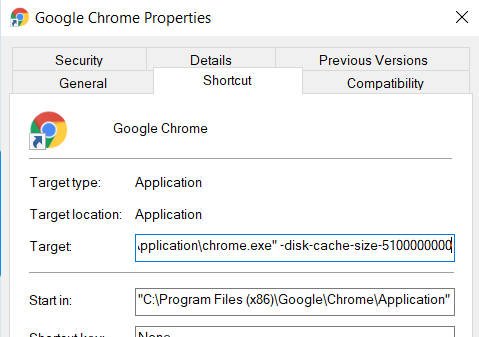
Step 2. A browser properties window opens in which go to the “Shortcut” tab. In the column “Target” you need to add: the space after “chrome.exe” and -disk-cache-size-5100000000, where 5100000000 bits, it is 5.1 GB. Click “Apply” and “OK” to apply the settings.
Related post : How to fix Google Chrome black screen issues


